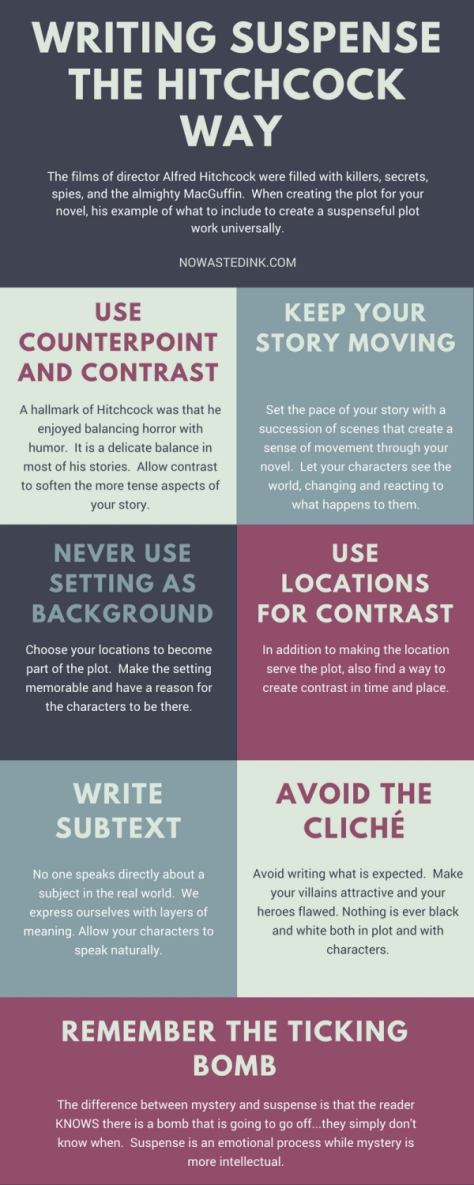
1. Writing Suspense
We will be producing a short suspense film where we have an idea of what is happening but are dreading it coming but still don’t know precisely how it might play out. Content should be PG and school appropriate. You don’t have to, but if you want to make things easier, try to use the school setting to your advantage and think of things that you have experienced that are suspenseful (i.e. running out of time on a test, being late for the bus, talking to a cute boy/girl) that don’t necessarily have your character(s) in mortal danger. Each group will have two shooting days and will likely need two split their film to be set in two or more locations. Lets look at some of your (not so terrible) ideas from last week.
Easier To Produce
|
Hard To Produce
|
| A young man is stalked by a guy in a hoodie who has rented the room next to him, where, at night, a strange sound emanates… |
After a couple gets married, the wife finds out that her husband always has some strange behaviors and he is hiding a big secret. |
| A boy has a crush on his lab partner. Unfortunately for him, she is an alien. |
A father puts bomb in his estranged wife’s car after a very violent custody battle. What he didn’t plan was for his kid to also be in the car. |
| A group of people go to camping. Each day there is one person missing. |
There are horrible events continue happen in this town. A person is being eaten at midnight every night. The girl finds out that the killer is her boyfriend. |
| A women found a diary and it is about her daily life. She discovered someone is watching her every day. Who could it be? |
A girl who cannot tell the difference between dreams and reality. |
| Set at school, not violent, doesn’t require too many actors, props, or locations, easy setup, scope is appropriate for a story told in ~3 minutes, doesn’t require too many special effects. |
Requires challenging settings, violence, requires many adult and/or child actors, too many props or locations, scope is too large for ~3 minutes, complex setup process, excessive number of special effects. |

2. Suspense Project Overview
Over the next several weeks, we will be producing a 2-3 minute film that builds suspense well through the use of cinematography, lighting, writing, performances, sound, and music. We will be working in pairs to produce this film that follows the plot chart we used previously including…
- exposition (establishing location and characters)
- inciting incident (or conflict that deviates from normal events)
- rising action (as the stakes increase or the conflict intensifies)
- climax (where the solution is found), falling action (where intensity declines)
- resolution (that ties up the story nicely and helps clarify the themes, morals, or lessons learned)
The four primary areas of focus for this project are:
- storytelling (follows plot structure, captures audience interest)
- suspense (well paced, uses genre conventions well)
- audio (capturing good, clean audio with the boom and/or Zoom recorder)
- special effects (at least one appropriate use of digital compositing)
The three secondary areas of focus for this project are:
- acting (timing, delivery, authenticity)
- cinematography (camera placement, movement, building tension)
- music (source audio that matches the tone and helps build suspense)
Production Timeline Overview
Days 1-3: Brainstorm concepts. Begin writing first draft.
Day 4: Finish first draft. Pitch to partner, debate merits, and choose a script you want to produce. Develop that script and complete the final draft.
Day 5: Draw your storyboard. Complete a shot list. Meet with and prepare actors. Practice using audio equipment.
Day 6+8: Group 1 shoots, group 2 acts.
Day 7+9: Group 2 shoots, group 1 acts.
Day 10-13: Editing a post-production work.


